In this Post, we’re going to build a simple image resizer web application. This will allow users to upload an image, specify the new dimensions, and then see the resized image. It’s a great way to learn about handling file uploads and manipulating images in JavaScript!
Approach
Here’s how we’ll set this up:
- HTML: We’ll create a form to upload images and input fields for the new width and height.
- CSS: We’ll style the application to make it user-friendly.
- JavaScript: We’ll handle the image resizing logic, updating the displayed image based on user input.
Let’s dive into each part!
1. HTML Code (index.html)
Here’s the HTML structure for our image resizer:
<!DOCTYPE html>
<html lang="en">
<head>
    <meta charset="UTF-8">
    <meta name="viewport" content="width=device-width, initial-scale=1.0">
    <title>Image Resizer</title>
    <link rel="stylesheet" href="style.css">
</head>
<body>
    <h1>Image Resizer</h1>
    <input type="file" id="image-input" accept="image/*">
    <br>
    <label for="width">Width:</label>
    <input type="number" id="width" placeholder="Width (px)">
    <label for="height">Height:</label>
    <input type="number" id="height" placeholder="Height (px)">
    <button id="resize-button">Resize Image</button>
    <br>
    <h2>Resized Image:</h2>
    <img id="resized-image" src="" alt="Resized Image" style="display: none;">
    <script src="script.js"></script>
</body>
</html>
- This HTML file includes a file input for users to upload their images and number inputs for width and height.
- The <button> triggers the resizing process, and we have an <img> tag to display the resized image once it’s processed.
2. CSS Code (style.css)
Now, let’s add some CSS to style our app:
body {
    font-family: Arial, sans-serif;
    text-align: center;
    margin-top: 20px;
}

input {
    margin: 10px;
}

button {
    padding: 10px 15px;
    background-color: #3498db;
    color: white;
    border: none;
    cursor: pointer;
}

button:hover {
    background-color: #2980b9;
}

#resized-image {
    margin-top: 20px;
    max-width: 100%;
}
- The CSS styles the body and centers the content.
- Inputs and buttons have some margin for spacing, and the button has a nice blue color that changes on hover.
- The resized image is constrained to fit within the page width.
3. JavaScript Code (script.js)
Here’s the JavaScript to make everything work:
document.getElementById("resize-button").addEventListener("click", () => {
    const fileInput = document.getElementById("image-input");
    const widthInput = document.getElementById("width");
    const heightInput = document.getElementById("height");
    const resizedImage = document.getElementById("resized-image");

    const file = fileInput.files[0];
    const reader = new FileReader();

    reader.onload = (event) => {
        const img = new Image();
        img.src = event.target.result;
        img.onload = () => {
            const canvas = document.createElement("canvas");
            canvas.width = widthInput.value || img.width; // Use input or original width
            canvas.height = heightInput.value || img.height; // Use input or original height
            const ctx = canvas.getContext("2d");
            ctx.drawImage(img, 0, 0, canvas.width, canvas.height);
            resizedImage.src = canvas.toDataURL();
            resizedImage.style.display = "block"; // Show the resized image
        };
    };

    if (file) {
        reader.readAsDataURL(file);
    }
});
- We start by adding an event listener to the resize button.
- When clicked, we retrieve the uploaded file and read it as a Data URL.
- Once the image is loaded, we create a canvas element to resize the image using drawImage().
- Finally, we set the src of the <img> to the resized image and display it.
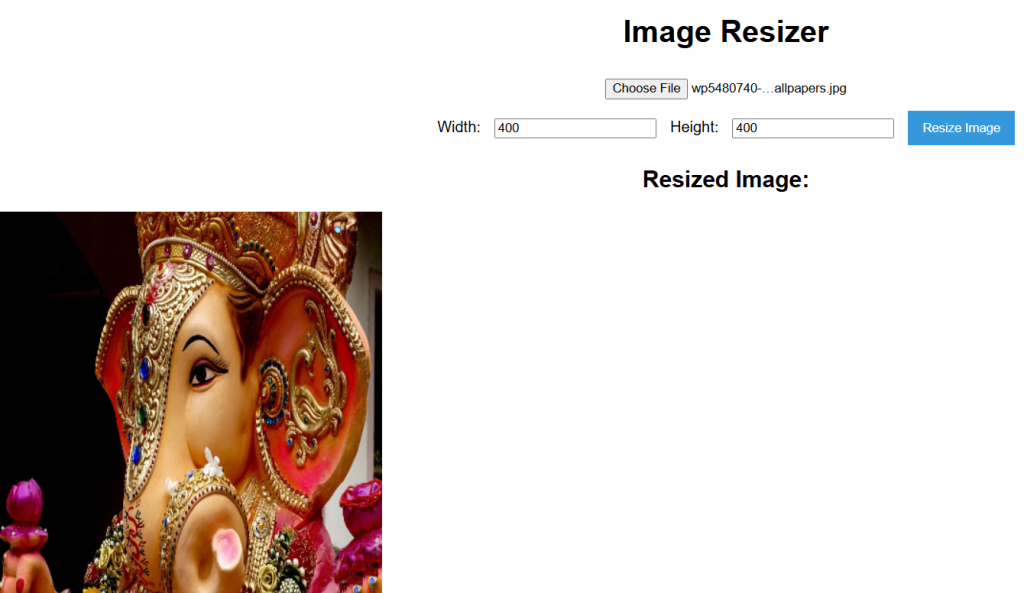
Output
Conclusion
And there you have it! We’ve built a simple image resizer web application that allows users to upload an image, specify the dimensions, and see the resized image instantly. This is a fun project that helps you understand image manipulation and web development basics.
Use Cases
- Useful for web developers needing to resize images before uploading.
- Great for graphic design tools or portfolio websites.
- Handy for personal projects where image size management is required.