Have you ever wanted to add a dynamic effect to your images, such as enlarging them when someone hovers over them? This simple yet engaging effect can enhance the user experience on your website. In this tutorial, I’ll show you how to achieve this using JavaScript.
Step – 1: Setting up your HTML
First, let’s create a basic HTML structure. We’ll need an image that we can apply our hover effect to. Here’s a simple example:
<!DOCTYPE html>
<html lang="en">
<head>
    <meta charset="UTF-8">
    <meta name="viewport" content="width=device-width, initial-scale=1.0">
    <title>Image Hover Effect</title>
    <link rel="stylesheet" href="styles.css">
</head>
<body>
    <div class="image-container">
        <img src="image.jpg" alt="Sample Image" class="hover-image">
    </div>

    <script src="script.js"></script>
</body>
</html>
Step – 2: Style Your Image with CSS
Next, we’ll add some basic styling to our image. We’ll also include a transition effect to make the enlargement smooth.
.image-container {
    display: inline-block;
    overflow: hidden;
}

.hover-image {
    width: 300px;
    height: auto;
    transition: transform 0.3s ease;
}
Step 3: Add JavaScript for the Hover Effect
Now, let’s write the JavaScript to enlarge the image on hover. We’ll use event listeners to change the image size when the mouse enters and leaves the image area.
document.addEventListener('DOMContentLoaded', () => {
    const image = document.querySelector('.hover-image');

    image.addEventListener('mouseover', () => {
        image.style.transform = 'scale(1.2)';
    });

    image.addEventListener('mouseout', () => {
        image.style.transform = 'scale(1)';
    });
});
Using the code to enlarge the image when hover
This is how the complete code looks:
HTML:
<!DOCTYPE html>
<html lang="en">
<head>
    <meta charset="UTF-8">
    <meta name="viewport" content="width=device-width, initial-scale=1.0">
    <title>Image Hover Effect</title>
    <link rel="stylesheet" href="styles.css">
</head>
<body>
    <div class="image-container">
        <img src="image.jpg" alt="Sample Image" class="hover-image">
    </div>

    <script src="script.js"></script>
</body>
</html>
CSS:
.image-container {
    display: inline-block;
    overflow: hidden;
}

.hover-image {
    width: 300px;
    height: auto;
    transition: transform 0.3s ease;
}
JavaScript:
document.addEventListener('DOMContentLoaded', () => {
    const image = document.querySelector('.hover-image');

    image.addEventListener('mouseover', () => {
        image.style.transform = 'scale(1.2)';
    });

    image.addEventListener('mouseout', () => {
        image.style.transform = 'scale(1)';
    });
});
Output
This is how the image looks when it is normal:
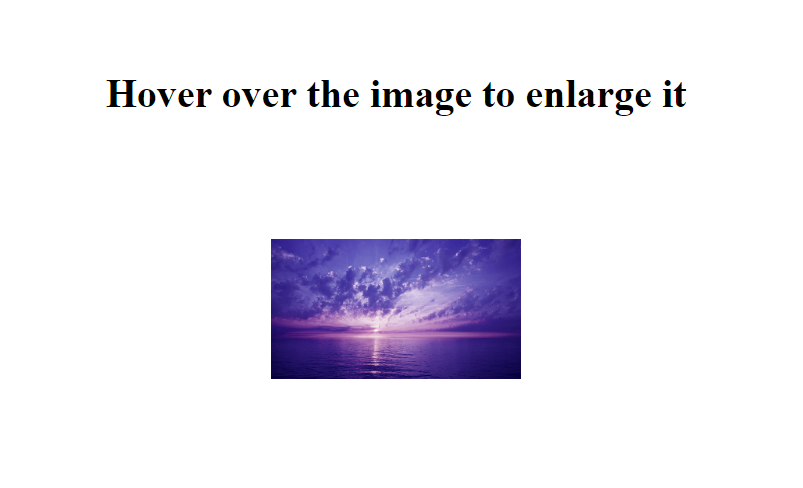
And this is how the image enlarges when the cursor is taken onto it:

We can see the image is enlarged when the cursor is hovered onto the image.
Conclusion
And that’s it! With just a few lines of HTML, CSS, and JavaScript, you can create an engaging hover effect that enlarges images when users interact with them. Feel free to customize the code to better fit your website’s style and design.
Happy Coding!