Adding a show/hide password feature to your login form can make it easier for users to switch between viewing or hiding their password This is particularly useful for avoiding typos when typing complex passwords. Now, let’s go over how to set up this feature using JavaScript.
Step 1: Set Up Your HTML
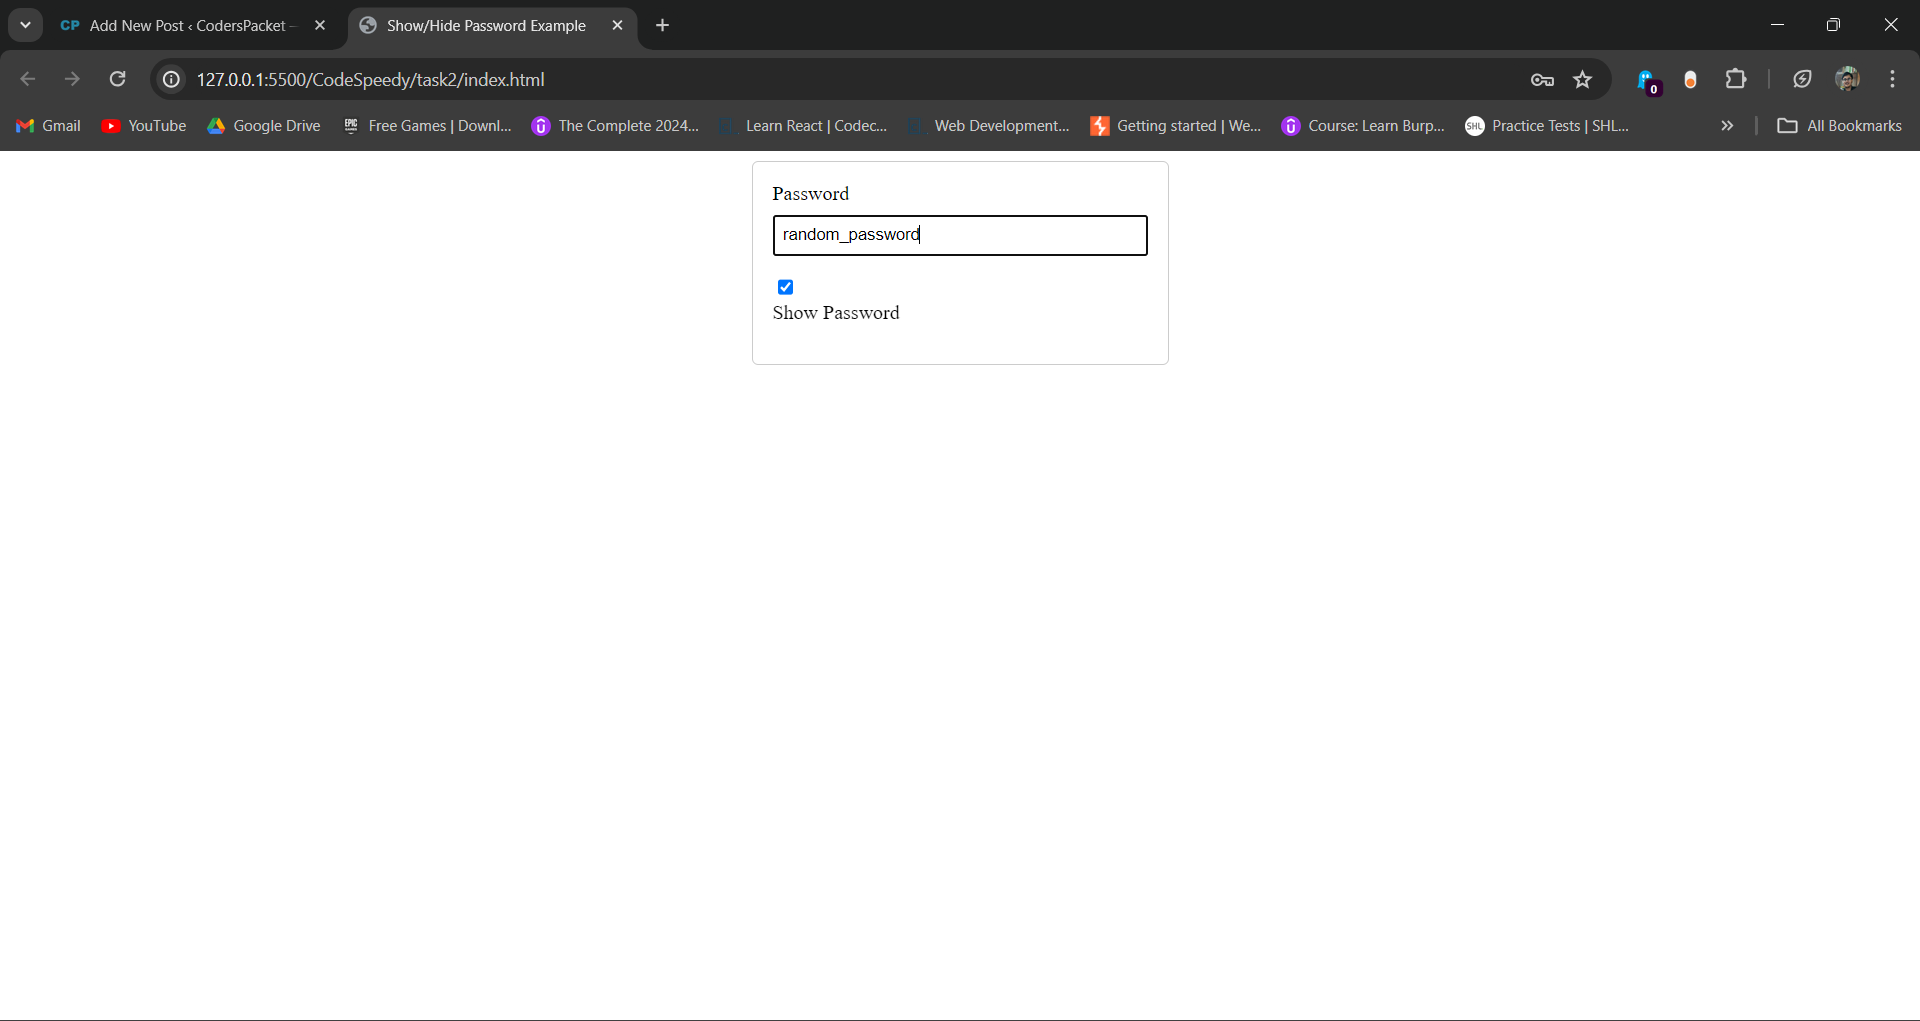
First, create a simple HTML form with a password input field and a checkbox to toggle the visibility of the password.
<!DOCTYPE html>
<html lang="en">
<head>
    <meta charset="UTF-8">
    <meta name="viewport" content="width=device-width, initial-scale=1.0">
    <title>Show/Hide Password Example</title>
    <style>
        .form-container {
            max-width: 300px;
            margin: auto;
            padding: 1em;
            border: 1px solid #ccc;
            border-radius: 5px;
        }
        .form-group {
            margin-bottom: 1em;
        }
        .form-group label {
            display: block;
            margin-bottom: 0.5em;
        }
        .form-group input[type="password"],
        .form-group input[type="text"] {
            width: 100%;
            padding: 0.5em;
            box-sizing: border-box;
        }
    </style>
</head>
<body>

<div class="form-container">
    <form>
        <div class="form-group">
            <label for="password">Password</label>
            <input type="password" id="password" name="password">
        </div>
        <div class="form-group">
            <input type="checkbox" id="togglePassword">
            <label for="togglePassword">Show Password</label>
        </div>
    </form>
</div>

<script src="togglePassword.js"></script>
</body>
</html>

Step 2: Create Your JavaScript File
Next, create a JavaScript file named togglePassword.js. This script will toggle the password visibility when you check or uncheck the checkbox.
// Select the password input and the checkbox
const passwordInput = document.getElementById('password');
const togglePasswordCheckbox = document.getElementById('togglePassword');

// Function to toggle the password visibility
togglePasswordCheckbox.addEventListener('change', function() {
    if (this.checked) {
        passwordInput.type = 'text';
    } else {
        passwordInput.type = 'password';
    }
});

Step 3: Explanation
- HTML Setup: We created a simple form with a password input field and a checkbox. Use the checkbox to toggle the visibility of the password.
- CSS Styling: We added some basic styles to make the form look neat.
- JavaScript Functionality:
- First, we select the password input field and the checkbox using
document.getElementById. - Next, we add an event listener to the checkbox to listen for the
changeevent. - Inside the event listener, we check the status of the checkbox. If it is, we change the
typeof the password input totext, making the password visible. If it is unchecked, we change thetypeback topassword, hiding the password.
- First, we select the password input field and the checkbox using
Step 4: Test Your Show/Hide Password Feature
Open your HTML file in a web browser. When you type in the password field, you should see dots or asterisks representing your password. The password should become visible when you check the “Show Password” checkbox. Unchecking the checkbox should hide the password again.
Following these steps, you can easily add a show/hide password feature to any login form, enhancing usability and ensuring a better user experience.
For more information on adding interactive features to your website, visit this guide on adding mouse hover effects using JavaScript.
If you liked the post, star some of my GitHub repo.